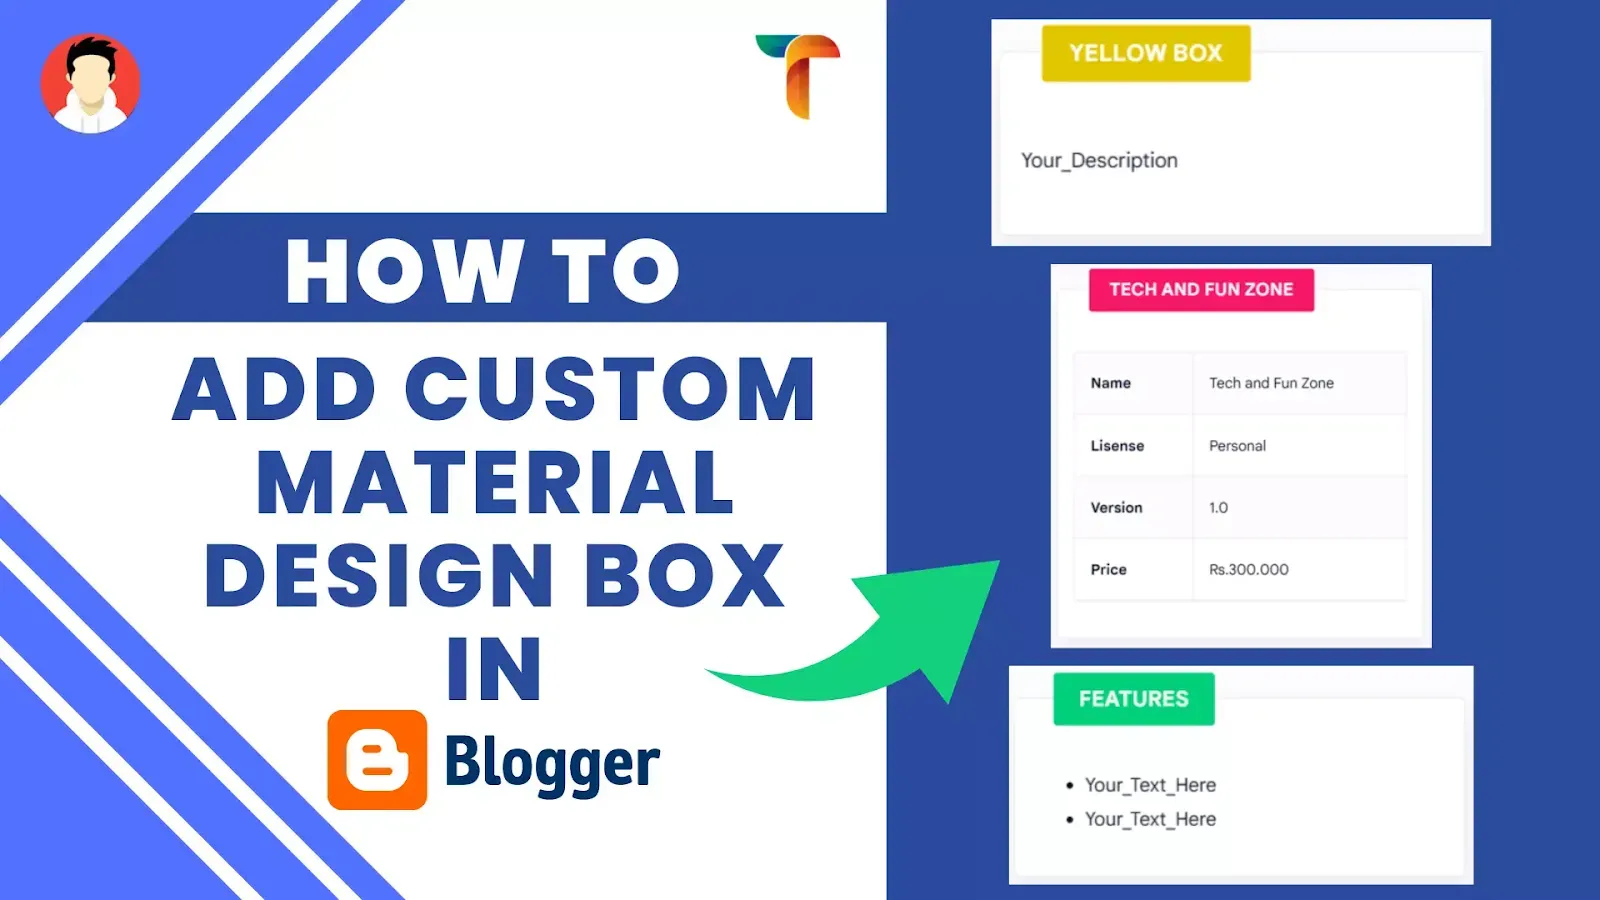
Hello, Bloggers! I hope all is well with you. The tutorial for adding a Custom Material Design Box In Your Blog will be shown to you today.
Many people make an effort to make their blog interesting and to make readers feel at ease while reading an article on it. One common effort is to improve the design and structure of the article on their blog.

You are considering how to implement it on your blog after seeing someone using it. So you've arrived at the right place. In this article, I'll go over it for you.
Why you Should Use Custom Material Design Box in Blogger
Blogs with long articles must use color boxes to prevent the reader from becoming bored with writing from top to bottom without notes or summary paragraphs. The article's Color Box will keep readers interested and engaged.
Benefits of using Custom Material Design Box
- Make Blog stylish
- it Looks Amazing and improve site impression
- The visitors will be awestruck.
- Easy to use without JavaScript
- keep readers interested and engaged
- Change the Look of your Post Artricles
The material box design necessitates the addition of two codes. Additionally, you only need to add the material box code if you are using Median UI, Plus UI, Fletro Pro, Imagz, Lantro.
Steps to Add Custom Material Design Box In Your Blog
Please make a backup of your theme before following the steps below to prevent errors and simplify restoration.
The Custom Material Design Box In Your Blog with all of the source code can be simply copied and pasted into your own template from this blog post. Have fun with your research and learning!
- Go to Your Blogger dashboard
- Go to Theme Section and click on Edit HTML Option
- Type Ctrl+F on the keyboard and search for ]]</b:skin> tag.
- After that copy the below CSS code and paste it before ]]</b:skin> tag.
- Copy the below code of Material Design Box and just paste after the above CSS code.
/* Custom Material Design Box  by techandfunzone.in*/
.techbox{background:#fff;position:relative;margin:40px 2px;padding:40px 15px 15px;border:1px solid rgba(230,230,230,1);border-radius:5px;box-shadow:0 10px 20px 0 rgba(30,30,30,.07)}
.techbox h2 {background:#02d07a;border-radius:3px;padding:8px 20px!important;position:absolute;margin:0!important;font-size:17px!important;color:#fff;top:-20px;font-weight:bold;left:30px;text-transform:uppercase}
/* Custom Material Design Box by techandfunzone.in*/
.techbox.box-yellow h2{background:#e2c601}
.techbox.box-blue h2{background:#2ad2c9}
.techbox.box-red h2{background:#f7176a}
.clicker {width:60px;height:60px;margin-left:-30px;margin-top:-30px;background:#204ecf;border-radius:100%;position:absolute;transform:scale(0);opacity:.3;-ms-filter:none;filter:none;z-index:9999;pointer-events:none}
.drK .techbox{background:#130f40}.clicker{background:#fff}.clicker.is-active{opacity:0;-ms-filter:'progid:DXImageTransform.Microsoft.Alpha(Opacity=0)';filter:alpha(opacity=0);transition:opacity 900ms ease,transform 900ms ease;transform:scale(1)}
For use in dark mode, replace the marked section class .drK with your theme dark mode class.
/* table detail */
.Blog table.tr-caption-container{min-width:inherit;width:auto;margin:0 auto;border:0;position:relative}
.Blog table.tr-caption-container tr td{background-color:transparent;border:0;padding:0}
.Blog table.tr-caption-container tr:nth-child(2n+1) td, .Blog table.tr-caption-container tr:nth-child(2n+1) td:first-child{border:0;background:transparent}
.Blog table.tr-caption-container .tr-caption{display:block;font-size:12px;font-style:italic;color:#767676;background-color:transparent;border:0}
.Blog table{width:100%;margin:20px 0px;border:1px solid rgba(230,230,230,1);border-radius:7px;overflow:hidden;font-size:14px}
.Blog table th{background-color:transparent;padding:15px 20px;border:1px solid #ddd;border-left:0;font-family:Noto Sans;font-size:13px}
.Blog table th:last-child, .Blog table tr td:last-child, .Blog table tr:nth-child(2n) td:last-child{border-right:0} .Blog table td{padding:15px 20px;border:1px solid #ddd;border-left:0;border-top:0;vertical-align:middle} .Blog table tr:nth-child(2n + 1) td{background-color:rgba(0,0,0,.025)} .Blog .table{display:block;overflow-y:hidden;overflow-x:auto;border-radius:3px;scroll-behavior:smooth;}
If you are using Median UI, Plus UI, Fletro Pro, Imagz, Lantro then don't copy the /* table detail */ because it is already there.
How to use these Custom Material Design Box In Your Blog
The box codes that can be used in a post to create a Custom Material Design Box are listed below.
FEATURES
- Your_Text_Here
- Your_Text_Here
- The code for the above Box 👇.
<div class="techbox">
 <h2>FEATURES</h2>
 <ul>
<li>Your_Text_Here</li>
<li>Your_Text_Here</li> </ul> </div>- Boxes can have three additional colors. Use the code below.
Yellow Box
Your_Description
- The code for the above Box 👇.
<div class="techbox box-yellow">
<h2>Yellow Box</h2>
<p>Your_Description</p></div>
Blue Box
Your_Description
- The code for the above Box 👇.
<div class="techbox box-blue">
<h2>Blue Box</h2>
<p>Your_Description</p></div>
Red Box
Your_Description
- The code for the above Box 👇.
<div class="techbox box-red">
    <h2>Red Box</h2>
<p>Your_Description</p></div>- The box that combines the codes for Table Detail and Material Design can be found below.
Tech and Fun Zone
| Name | Tech and Fun Zone |
| Lisense | Personal |
| Version | 1.0 |
| Price | Rs.300.000 |
- The code for the above Box 👇.
<div class="techbox">
<h2>Tech and Fun Zone</h2>
<table cellpadding="0" cellspacing="0" style="text-align: left;">
<tbody>
<tr><td><b>Name</b></td> <td>Tech and Fun Zone</td></tr>
<tr><td><b>Lisense</b></td> <td>Personal</td></tr>
<tr><td><b>Version</b></td> <td>1.0</td></tr>
<tr><td><b>Price</b></td> <td>Rs.300.000</td></tr>
</tbody>
</table>
</div>
As a result, I believe you have now completed all of the steps. Please leave a comment below if you have any questions or problems.
Term's of use !
The templates or Scripts are for a personal use only. How personal can it get? Well, you are very much encouraged to download the template or Script of your choice and use it. But Personal means that you can’t make business out of our templates or Scripts. You are not allowed to sub-license, transfer, resell or republish any of the templates even for free.
Conclusion
Therefore, this is the How to Add Custom Material Design Box In Your Blog tutorial. I hope you will find this useful. All Blogger themes work properly with this tutorial. You can contact us or post a comment in the comment section if you encounter a problem or error.
© Tech & Fun Zone
